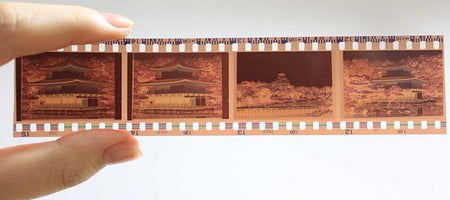
Remember getting back those funny, flimsy brown negatives in your package of developed photos as a kid?
Did you know that those negatives can actually produce a better, sharper digital copy from scanning than a print photograph?If you’ve saved those negatives, then good for you - it’s time to get them digitized!
If you have 35mm negatives lying around at home, you know that over time those thin pieces of film can become curled and misshapen. This can make scanning your negatives very difficult and can produce wonky digitizations. What can you do when this happens to your precious 35mm memories? Here are some tips to help flatten your negatives for better digitization.
Pressing Negatives
One way you can try to uncurl your negatives is to press them between two heavy books. First, you’ll need to cover your negatives with plastic negative holder sheets so that the negatives don’t become damaged while pressed. Try to uncurl them as much as possible before placing them in the holder sheets. Then, you’ll want to set the negatives on top of a flat surface and place a large, heavy book or object on top of them. Leave them sitting like this for a couple of days, then check on them to see if they’ve made progress. If they are still slightly curled, you can try leaving them pressed for a week or so.
Hanging Negatives
Another way to flatten your negatives is by hanging them. First, rinse the negatives in clean, distilled water. Then, hang them to try on a line and attach a weight to the bottom of each strip. You can use something like a chip clip or a clothespin as your weight. Wait 24 hours and check on your negative strips. If they are still slightly curled, try the process again.
Flattening your curled negatives can be the best thing to ensure proper scanning. A curled negative is very difficult to digitize, so it is best to try to flatten them before sending them in for digitization.


