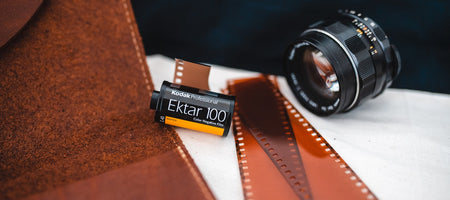
Are you a shutter enthusiast or the casual capturer? Whatever your degree of film shooting pedigree may be, chances are you’re probably swimming in a sea of negatives, asking yourself, “to scan or not to scan – that is the question.”
If you’re like most, you probably want to digitize all those memorable moments – but how? Where do you begin?
Well for starters, you’re going to need a flatbed scanner that can digitize slides and negatives. But, you’ve got to get a scanner, and even the relatively inexpensive ones that can deliver decent prints are going to cost you.
Okay, so you’ve got your scanner on lockdown, and now you’re ready to organize and start digitizing, right? Not quite. It’s important you perform a little housekeeping first to make sure you get the best possible prints. So, here are a few prep steps to keep in consideration.
-
Clean the scanner glass.
Because dust gets magnified when you scan, it’s a vital step to take some compressed air to the flatbed glass to liberate as many dust bunnies as you can. -
Wash your hands.
It’s a classic film rule but worth reiterating. Be careful not to touch the image of your negative with your grubby, oily fingers. -
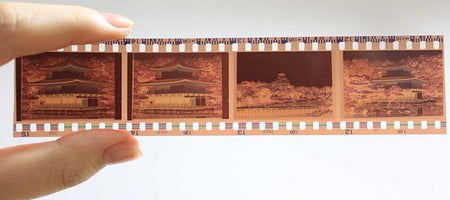
Up or down?
Make sure you check the film holder so you know whether the emulsion should be placed up or down. -
Get sophisticated.
Simply put, make sure your driver is set to the highest quality mode possible. You’ll have to dig a little deeper into the settings to uncover access to all its options.
So now that you’ve got all the prep work out of the way, scan away. But wait. What basic settings are best? With so many options, you’ll want to make sure you’re doing it correctly – answering all those questions that should be swimming around in your head, like:
- Are you scanning a negative, positive or black-and-white photo?
- Did you set the bit depth as high as possible (48-bit color) for color images?
- What about refining your selection? Did you catch any outside edges as you drew the marquee?
- Should the histogram to be accurate for the best color and brightness?
- Did you scan at the right size for your image?
- Should you scan the biggest file your computer can process/have room to store?
- Are your DPIs correct?
- Even though you cleaned the dust, where did all these dust spots come from?
Turns out, digitizing your photos – while a great skill to have – isn’t as black and white as it seems. Oh, puns! But seriously, it can be a losing battle dealing with dust, film grain, tricky color correction and an overabundance of settings.
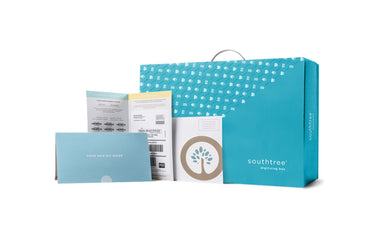
Luckily, you don’t have to go it alone. Digitization help is out there in the form of companies like Southtree that can give you a hand in digitally preserving your treasured analog moments. Just send in your shoebox full of memories – aging film, negatives, tapes and more – and you’ll receive digital copies along with your originals – safely, simply and awesomely.
After all, they’re your memories and they matter. Don’t lose them. Preserve them with Southtree.