Remember when you insisted all the family gather around your one-year-old child’s birthday cake to take a photo? Yes, we all love memories. There are quite a number of events in life that we wish to capture so we can make them last a lifetime.
Photography enabled us to do just that. In the instant of a flash, you can picture the smiles of your loved ones. Unfortunately, old photos are not as time-resistant as we wish. They age over time and their once vibrant colors fade away, taking the attached memories with them. However, there is a way to make them eternal — digitize them.
4 Methods to Convert a Physical Photo to Digital
Option 1: Use Your Existing Flatbed Scanner
The most cost-savvy option to create digital copies is to use your existing flatbed scanner. To scan your old photo collection, a resolution of 300 DPI (or dots per inch) should be sufficient, but 600 DPI is recommended. However, to scan slides or negatives, a DPI of at least 2,400 is necessary, and not usually available on non-professional scanners.
Start by cleaning your old photographs, using a makeup brush or microfiber cloth to remove dust and fingerprints. If you are a neat freak, you may also want to clean your scanner's glass for optimal results.
A professional tip is to scan multiple photos at once as up to four 4x6 photos should fit on your scanner. Once you have scanned the photos, open your photo editing software to crop the images and remove unwanted rounded sides. You may also straighten them if needed and correct the color to a more natural tone. While this option can be the cheapest way to digitize your old family photos, this process can be very time-consuming and require a lot of effort and patience to complete medium to large collections.
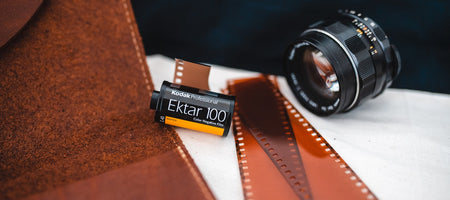
Option 2: Purchase a Slide and Negative Scanner
The second option is to purchase a slide and negative scanner, which starts at around $99. Of course, if you are seeking a professional photo scanner with optimal quality, the price can rise to a few thousand dollars. These scanners usually support a variety of formats and are faster than a regular scanner. All you have to do is feed it your slides or negatives, and the images will be saved as JPEG files on your computer or SD/SDHC memory card. Some of them can even be plugged into your TV to create a slideshow.
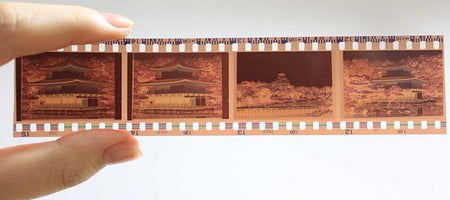
However, the quality of your scanned-in slides may not be as satisfactory as you’d prefer, as these scanners will not replace a proper restoration. A professional photo editing software such as Adobe Photoshop, and some serious technical skills will be required to bring back the vibrant colors of your images and take off the undesirable yellowish tint that appears on your slides or negatives over time. As you can probably imagine, editing away the aging elements of your photos may be a lengthy process.
Option 3: Use Your Smartphone
Using a smartphone and dedicated photo scanning apps or a digital camera is a convenient and cost-effective way to digitize old photos. Modern smartphones are equipped with high-quality cameras capable of capturing sharp and detailed images. Apps like Google PhotoScan, Microsoft Lens, and Adobe Scan make the process even easier by offering tools to reduce glare, enhance image quality, and crop your photos for a polished result.
Simply position your physical photo on a flat surface, use your phone’s camera or an app to scan it, and save the digital files directly to your phone or cloud storage. This method is perfect for smaller photo collections or for quick sharing with family and friends and preserving images on-the-go with minimal setup and effort. However, while this method can be fast and easy, it won’t produce the highest quality digital pictures.
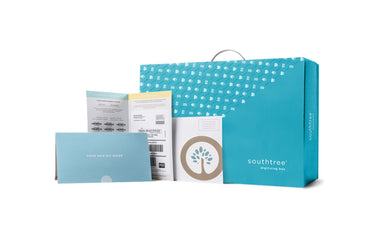
Option 4: Hire a Professional Photo Digitizing Service
If you want to avoid the DIY headache and have your photos professionally digitized to the best possible quality, there are many services that can help. Southtree is one professional photo scanning service that specializes in bringing your photographs back to life. Whether they are slides, prints, or negatives of any size, Southtree uses very powerful scanners to create pixel-perfect images. Once the whole digitizing process is over, Southtree sends you back your photographs along with the selected digital format of your special memories.