Travel is life altering. Whether it’s a weekend staycation just 30 miles away, a road trip across the country, or a month-long backpacking trip through Southeast Asia, going to new places is an opportunity for new relationships, transformative experiences, and unforgettable memories. And these moments are worth documenting. After all, as the saying goes: “A picture is worth ten thousand words.”
Making a photo map is not only a fun DIY project; it’s a valuable tool in protecting and reliving your life’s most profound recollections. Here’s a list of supplies you’ll need, and a list of step-by-step instructions, to get started:i
Supplies:
- Map of United States
- Photos (see step one)
- Foam board
- Tissue paper or thin, clear plastic
- Scissors
- Hot glue and glue gun
- Sturdy tape
STEP ONE
Choose photos
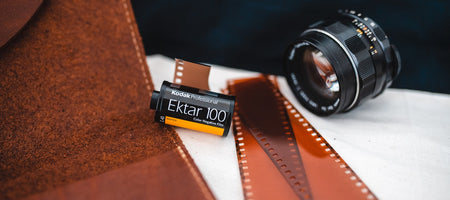
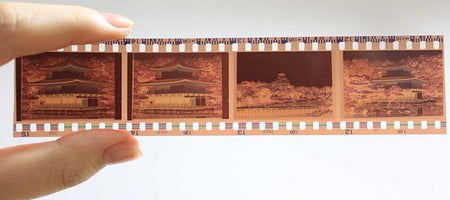
Go through your travel photos and select one photo for each state that you’ve visited. (If you’d like to have options when creating your map, choose two or three selections. So that you don’t waste images, you can always put any unused photos in an album.) If you want to go an extra step, coordinate your pictures based on color or theme. And if you are making this as a gift for someone, keep in mind that it’s best to use photos that include the two of you in the frame together. After you’ve selected photos, get them printed at a local photo shop or the nearest CVS.
STEP TWO
Cut your photos in the shape of the state that they were taken.
After getting your photos developed, you’ll begin the first crafty step, so grab your scissors! (If you printed a few options for each state, now is the time to make final picks.) With transparent paper of some sort (i.e. tissue paper or clear plastic), trace each state individually. You’ll use these outlines as stencils when cutting your photos. (We recommend taping the edges of the clear paper around your photos, framing the area that you want cut out, to ensure that nothing shifts. This will ensure that you cut the photos with precision, so that they fit perfectly to their corresponding state.) Cut along the lines, with care.
STEP THREE
(OPTIONAL) Hot glue your photos to the foam board, and cut accordingly.
Using the photos as a guide, you’ll now cut foam board to match the outline of each state. The foam doesn’t have to be quite as defined, since it’s harder to cut strict lines into thin photos. Just be sure that the foam board doesn’t exceed the outline of the photos, so that edges don’t spill beyond the state borders. Once you have a layer of foam for each photo, you’ll dot the back of your images with small blobs of hot glue, and then attach the photos to the foam. Keep in mind that this step is optional. The foam board simply raises photos and adds depth to your map. If you prefer, you can always glue the photos directly to the map.
STEP FOUR
Finish your map.
Cut and curl two-inch long pieces of your sturdy tape into rings and attach the tape loops to the back of your foam. Then, attach the foamy pictures to your map, cautiously making sure that the borders align seamlessly. After all your travel photos are taped, you can decide whether or not you’d like to further decorate the map with stickers, glitter, writing, etc. Writing personalized notes in the margins of each state of experiences and memories from each place adds extra special details to your travel map.
Whether this photo map is for you, a friend, a family member, or a significant other, it’s more than a gift. It’s a memoir of some of your life’s most precious moments (alone or together). Be sure this DIY memoir is hung in a special place, and let each photo speak its own story; it’s own ten thousand words.