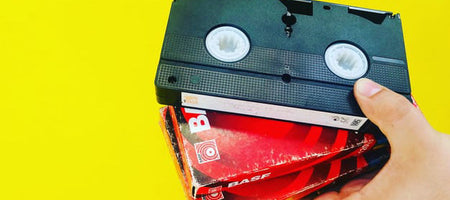
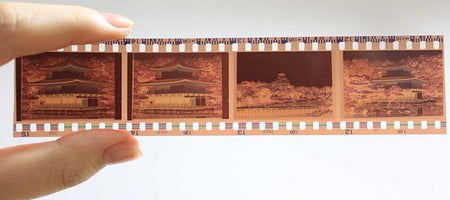
If you’ve got a batch of old 35mm slides you’re looking to digitize, there’s a strong chance they’re not ready for their digital makeover. With several decades of nothing to do but sit and collect dust, mold, and debris, your slides are more than likely in need of a spit shine, metaphorically speaking. Whatever you do, don’t actually spit on them, though!
Instead, follow along with this quick and easy slide cleaning checklist so you can get the best picture quality possible when you digitize your slides.
How to Clean Slides
Step 1: Observe your slides
To the human eye, a small smudge or speck of debris on your slide may not look like much. But when magnified or turned into a digital image, that small speck can turn into a large, dark blur.
Start the cleaning process by checking the surface of the slide for abrasive substances. You’ll want to make sure the sides of the slide are free of sand or any gritty substances because if you wipe the slide with a cleaning cloth or agent, you could risk bringing that debris onto the slide’s image, scratching it in the process.
Step 2: Remove any debris
If, during step 1, you spot any dirt or debris on the slide, flip it upside down and try to shake it off. Give it a couple of gentle taps to help loosen it. If the debris remains, then try using a bulb blower or compressed air to blow it off. In the most stubborn of situations, you may need to grab a soft paintbrush and very lightly brush off the debris.
Note: If you use compressed air, it should be moisture free and rated at 60 PSI or lower. You don’t want to risk damaging the image just to blow off the debris.
Step 3: Wipe it down
When you feel like you’ve got the slide free of debris, you can move on to the wiping process. It’s important to note that when wiping, you’ll want to use a microfiber cloth. The synthetic fibers on a microfiber cloth are woven closer together than those of a regular cotton rag, making the cleaning more effective – and much safer. Lint-free cloths will also lessen the likelihood of leaving behind lint or small fibers.
Cleaning tip: You may consider wiping your slides down one last time with an anti-static cloth to remove any static charges that could affect the digitization process.
What If There’s Mold On Your Slides?
If your slides have fallen victim to mold growth over the years, then simply dusting them off with air or wiping them down with a microfiber cloth isn’t going to cut it. You need to bring out the powerful stuff.
Step 1: Don some gloves
Start by putting on some cotton gloves. These will not only protect your hands from the moldy slides, but they’ll also protect you from the cleaning agents or from accidentally smudging the slides with your grubby fingerprints, avoiding one more thing to have to clean off.
Step 2: Take the slide out from the casing
All your slides are probably housed in some sort of backing, whether it’s plastic, glass, metal or paper. Using the narrow slit at the top or side of the backing, remove your slide and pop open the casing.
Note: If you’ve got slides with paper/cardboard backing, you’ll need to use more discretion when removing the slide by slitting along the top or bottom edges with a fine razorblade. Be extra careful not to slit the actual slide itself.
Step 3: Dab and wipe with isopropyl alcohol
Make sure that you’re using isopropyl alcohol (a common household cleaning solution) as it’s a great agent at eliminating fungal growth, or a special alcohol-based film cleaner. Start by dabbing a bit onto a cotton cloth, cotton pad or photo chamois, then carefully wipe the slide in a circular motion. Make sure you gently remove all the mold and any additional grime.
Step 4: Let them dry
The last thing you want to do is dab and wipe your slides with alcohol and then immediately put them back into their casings. This could promote moisture damage to your slides and you don’t want that. Instead, let them reside and air dry in a place with a relative humidity of approx. 40%.
Step 5: Snap them back into place in their case
Once you’re satisfied with your cleaning methods and your slides are dry, you can pop them back into their case mounts. If you had cardboard/paper slides that you had to cut, you’ll have to place them in a new plastic, metal or glass mount as the cardboard is not reusable.
Note: You may consider projecting the slides on an open-air mount. The sheer heat (approx. 140 degrees Fahrenheit) will not only kill any bacteria that might have survived the cleaning process, but it will also let you preview them to make sure that everything is clean and looks good.
Digitize Your Slides Today
Now that you’re done with the cleaning process, you’re ready to digitize before your slides fade, warp or grow more mold. And we can help! Our team of professional preservationists will bring new life to your old memories and a little bit of cleanliness can go a long way to save your glory days!
Our professional team carefully digitizes your slides into modern formats like cloud storage, DVDs, or USB drives, so you can relive, share, and preserve your memories. Don’t let time lock your family’s history away—trust Southtree to preserve it so you can enjoy those moments for years to come. Get started today.