Did you just find a box of old cassettes somewhere in your house? Some of them containing your favorite jams and others, the precious recordings of your loved ones. As you presumably noticed, it becomes almost impossible to find a device to playback your collection. But, we have news that will cheer you up! There are ways to convert audio cassettes to our modern-day CDs. Compact Discs became popular in the 90s and have since conquered the hearts of many. Those discs are life-lasting, and also deliver a genuinely relished high-fidelity sound. CDs are usually 700Mo in size, which represents about 20 songs, depending on their length, compression and format. So let's start converting your cassettes to audio CDs!
Step 1: find the right equipment
First, let's make sure you have the right equipment to get started. You will need a cassette deck in working condition, with a built-in 3.5mm headphone jack. Also, a double-ended 3.5mm audio cable will be required. You can use your PC or Mac, as long as it has a sound card with a line-in port, which is different from the microphone jack. If it doesn't, you may use the microphone port but the quality won't be optimal as it will be monophonic, and not stereophonic. Last, you will need an audio recording software, such as Audacity or QuickTime, which are both free for Windows and Mac. For even greater quality and sophisticated features, you may want to invest in a professional audio software, such as Adobe Audition, Sony ACID Pro or Sound Forge.
Step 2: clean and convert
Next, you want to dust-off your old tapes to ensure the result will sound crisp and clear. Dust may damage your tapes if you use them after awhile. You are now set to convert your cassettes into digital files! Use the 3.5mm cable to plug in your cassette player to the line-in port on your computer. Open your favorite audio software and open the settings to make sure the sound card detects the sound input properly. You may need to adjust the audio volume for a good balance between quality and sound power level. Press the play button on your cassette deck and the record button on your computer simultaneously to let the magic begin.
Step 3: separate and optimize tracks
If you are recording a music album, you will need to separate tracks, using an audio editing software. Also, to optimize the process and extract a crystal-clear sound, working on tracks individually is necessary, and it requires some advanced technologies. This is rather lengthy and tedious process, to say the least. After converting your files to .wav format using yet another audio converter program, you will finally be able to burn your tracks to a CD-R (Compact Disc-Recordable) disc.
Or hire a professional...
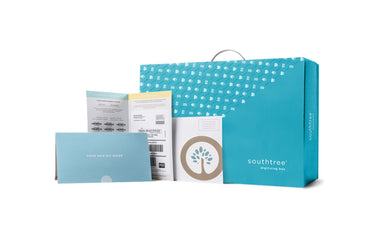
If you want to ditch the cumbersome DIY approach, there are many professional services that can convert your audio cassettes to optimal quality for you. Southree is one service that specializes in reviving those happy musical notes and engraving your cherished memories on audio CDs! To get started, place an order from https://Southtree.com, and we will send you mailing instructions to our high-tech digitization studio in the United States. We understand that those tapes are very dear to you and promise we will take the greatest care of them from the moment we receive your package to its way back to you.


