Deck the halls with Christmas Ornaments! Now that Thanksgiving has come and gone, it’s time to set up (FINALLY) for Christmas! As you begin to pull out your favorite decorations and set up your tree, you might notice that you’re missing something. What could that be?
How about homemade Christmas ornaments!
Let’s add a little Christmas cheer and spirit to your tree and home this year! You want to know what the best part of this DIY is? It. Is. Easy. Yep - easy, breezy and beautiful! Let’s start off by talking about what you’ll need.
Supplies:
- Mod Podge
- A Brush
- Twine
- Wooden Circles
- Printed Photos on paper
- Resin or Finishing Spray (optional)
- Scissors
- Hot glue gun and glue sticks
Step 1
Wooden ornaments are the way to go. Why? Because sometimes ornaments are dropped...and sometimes said ornaments are made out of glass. Luckily, little circular cuts of wood do not break when dropped! This means that your ornaments will last forever.
You can find small wooden ornaments at your nearest craft store! You can also select different shapes and sizes of wood to give your tree some dimension.
Step 2
Print off your favorite family photos on printer paper. From your kids, to your grandparents...and even your favorite pet! Your memories matter and every special family photo should be added to your tree!
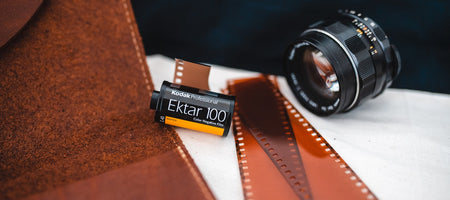
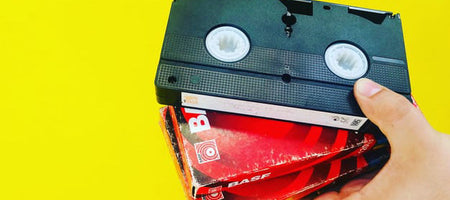
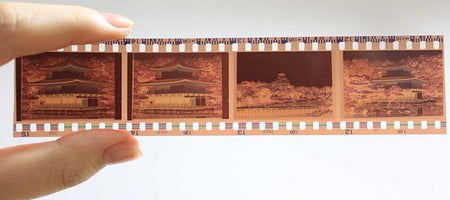
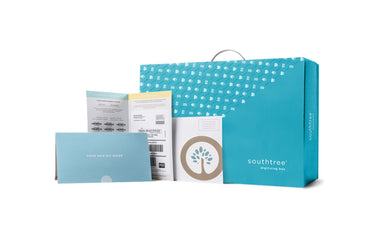
Do you have photos that are currently trapped on film? No worries, you can have them digitized with Southtree this Christmas! Once your images are digitized, you can print off your photos again and again, to your heart's content! Which also means that you can create Christmas ornaments for your loved ones as gifts too!
Once your photos are printed and dry, cut out your images in the shape of the ornament with your scissors! Make sure it’s the same size and that your images isn’t too big!
Step 3
Once you have your image cut out, it’s time to paint the mod podge on top of the image! Laying your image, photo side up, dip your brush into the mod podge and begin coating the top of your image. You’ll want to be sure that you coat your image completely.
Step 4
Place your image mod podge side down onto your wooden ornament. Lightly rub the image onto the wood and let it sit until completely dry.
Step 5
Once image is dry, take a glass of warm water. Dip your finger into the warm water and begin to gently rub your image. This will begin to peel the paper off of the wood, but you’ll notice that your image is adhered to the wood! Continue this process until all the paper fibers are gone. You are left with just your image!
Step 6
Coat your ornament with more mod podge to ensure that your image will stay put! Let dry.
Step 7
Last, but not least! Cut a piece of twine for the ornament. Heat up your hot glue gone and place a penny sized amount of hot glue to the back of the picture ornament. Take the two ends of your twine and apply to the dollop of hot glue. Let cool
And there you have it! You now know how to make your very own DIY Christmas ornaments! These Picture Christmas ornaments will be the showstopper of your home. These sweet decorative pieces will definitely enhance the christmas spirit. Your memories are special, one of a kind and they make up who you are today! Enjoy the holiday season with your loved ones, make new memories and cherish these special moments forever.